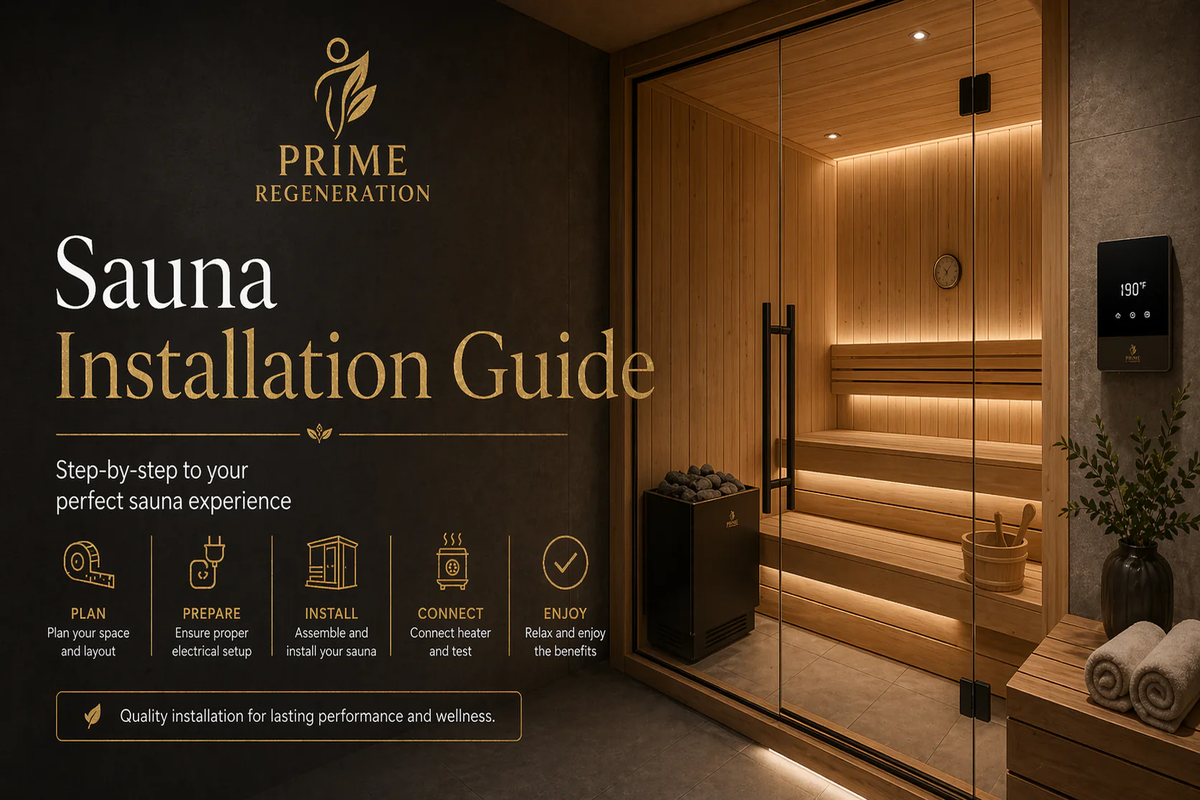
Sauna Installation Guide
Last Updated: April 2026
Installing a home sauna is a rewarding project, but it requires careful planning across several trades — electrical, framing, ventilation, and finishing. This guide covers the key considerations for a successful sauna installation, whether you're building from a kit or constructing from scratch.
Note: Always consult licensed professionals for electrical and structural work. Requirements vary by local building code.
Step 1: Choose Your Location
- Indoor vs. outdoor: Indoor saunas (basement, bathroom, spare room) are easier to heat and maintain. Outdoor saunas offer more flexibility in size but require weatherproofing and longer electrical runs.
- Proximity to electrical panel: Sauna heaters require a dedicated 240V circuit. The closer to your panel, the lower the installation cost.
- Flooring below: Avoid installing directly over finished hardwood or carpet. Concrete, tile, or a moisture-resistant subfloor is ideal.
- Ventilation access: You'll need a fresh air intake near the floor and an exhaust vent near the ceiling.
- Ceiling height: A minimum of 7 ft is recommended. The upper bench should be at least 3 ft from the ceiling to allow proper heat distribution.
Step 2: Framing & Insulation
- Wall framing: Standard 2×4 stud framing works well. Frame to your planned interior dimensions.
- Insulation: Use fiberglass batt insulation (R-11 to R-13 for walls, R-19+ for ceiling). Do not use foam insulation — it cannot withstand sauna temperatures.
- Vapor barrier: Install a foil-faced vapor barrier on the hot side (interior side) of the insulation. Overlap seams and seal with foil tape.
- Ceiling: Insulate the ceiling heavily — heat rises, and a well-insulated ceiling dramatically improves efficiency.
Step 3: Interior Finishing
- Wood selection: Use kiln-dried, knot-free softwoods. Top choices: Cedar (aromatic, moisture-resistant), Aspen (odorless, smooth), Spruce (affordable, traditional), Hemlock (fine grain, good heat resistance).
- Do not use: Pressure-treated lumber, pine with high resin content, or any wood with adhesives or finishes.
- Tongue-and-groove paneling: Install horizontally or vertically with a small gap to allow for expansion.
- Benches: Upper bench sits approximately 18–24 inches from the ceiling. Use 2×4 or 2×6 clear cedar or aspen for bench boards.
Step 4: Flooring
- The sauna floor should be non-slip and moisture-resistant. Tile or concrete are the most common choices.
- Add a wooden floor grate or duck boards over tile for comfort underfoot.
- Ensure the floor slopes slightly toward a floor drain if possible.
- Avoid carpet, vinyl, or laminate — they cannot handle the heat and moisture.
Step 5: Ventilation
- Fresh air intake: Install a vent near the floor, behind or below the heater. Size: approximately 4–6 inches in diameter.
- Exhaust vent: Install near the ceiling on the opposite wall from the intake.
- Adjustable vents: Use adjustable dampers so you can control airflow during and after sessions.
- Post-session ventilation: Always leave the door open and vents fully open after use to dry out the sauna and prevent mold.
Step 6: Electrical Installation
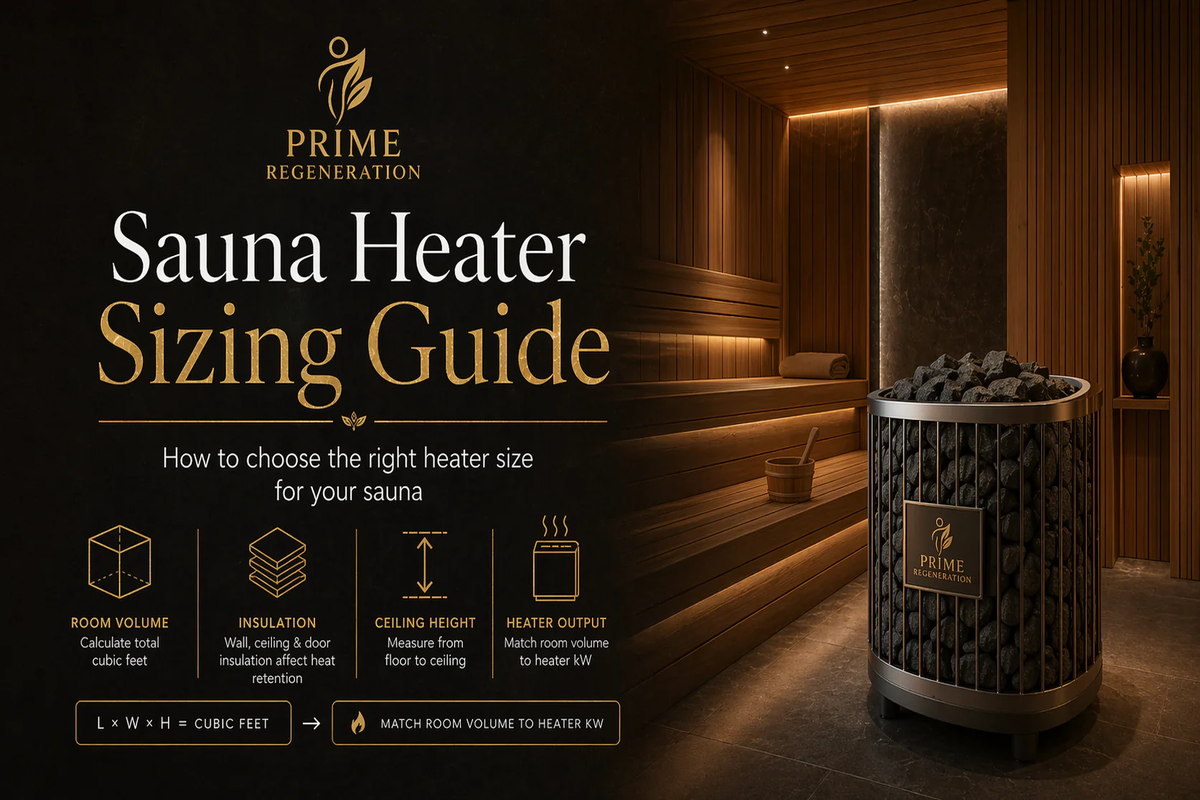
- Sauna heaters require a dedicated 240V circuit. See our Sauna Heater Sizing Guide for electrical requirements by kW.
- All wiring inside the sauna must be rated for high-temperature environments (90°C or higher).
- A GFCI breaker is required in most jurisdictions for sauna circuits.
- The control panel should be mounted outside the sauna.
- Hire a licensed electrician — improper wiring is a fire and safety hazard.
Step 7: Heater Placement
- Place the heater in a corner or along a wall, away from the door and benches.
- Maintain the minimum clearances specified by the manufacturer — typically 4–8 inches from walls and 16–24 inches from benches.
- Install a heater guard if the heater is within reach of bathers.
- The heater must sit on a non-combustible surface — tile or concrete, not wood.
Step 8: Door
- Use a solid wood or glass sauna door — standard interior doors are not suitable.
- The door should open outward for safety.
- Use a magnetic or wooden latch — never a lock that can trap someone inside.
Pre-Use Checklist
- ☐ Electrical inspection passed
- ☐ Heater clearances verified
- ☐ Sauna stones loaded per manufacturer spec
- ☐ Ventilation tested (intake and exhaust open)
- ☐ Door opens outward and latches properly
- ☐ First heat cycle run (burn off any manufacturing residue from stones)
Shop Sauna Heaters & Accessories
- Sauna Heaters
- Sauna Accessories — stones, ladles, thermometers, and more
- Sauna Controls
Have questions about your installation? Contact our team — we're happy to help.
Related Guides
- Sauna Buying Guide — Compare sauna types, sizes, and features
- Sauna Heater Sizing Guide — Find the right kW for your room
- Sauna Accessories Guide — Stones, ladles, thermometers, and more
- Steam Room vs. Sauna — Not sure which is right for you?
Disclaimer: The wellness benefits described in this guide are for general informational purposes only and are not intended as medical advice. These statements have not been evaluated by the Food and Drug Administration. Prime Regeneration products are not intended to diagnose, treat, cure, or prevent any disease or medical condition. Consult a qualified healthcare professional before beginning any new wellness practice, particularly if you have a pre-existing health condition.